Loose handouts have a short life. By week three, half the class has lost the sheet from week one, and the other half has it folded inside a different subject's folder. A workbook keeps a whole unit in one place: the notes, the examples, the practice and the answers, in the order you will teach them.
A good workbook is not just handouts stapled together, though. It has a structure that tells students where they are and what to do next, even when you are not beside them. This guide covers that structure, how to write the pages that matter most, and how to print the result. The free Tutorial Book Maker lays it all out as a printable PDF.
Key takeaways
- Give the book a predictable structure: cover, contents, a short "how to use this book", chapters, key terms, answers.
- Open every chapter with two or three objectives a student can check themselves against.
- Follow each idea with a worked example that shows the thinking, then practice that starts easy and builds.
- Number practice by chapter (1.1, 1.2, 2.1…) so answers and questions are easy to match.
- Print double-sided on A4, and keep a large-print version for students who need it.
The structure of a workbook
Students should be able to open the book anywhere and know where they are. That comes from a small number of parts, always in the same order:
| Part | What it does |
|---|---|
| Cover | Title, subject, class, and "this book belongs to" lines, so lost books come back |
| Contents | Chapter titles with page numbers, so students can find their way back |
| How to use this book | Three or four sentences: read the notes, study the example, try the practice, check your answers |
| Chapters | One idea or one lesson each, starting on a new page |
| Key terms | The vocabulary of the unit, alphabetically, in plain language |
| Answers | At the back, or printed separately if you prefer to hand them out later |
Design each chapter around one idea
A chapter should match a lesson or a short sequence of lessons, and start on a fresh page so students can see where one idea ends and the next begins. Open it with a box of objectives written from the student's side:
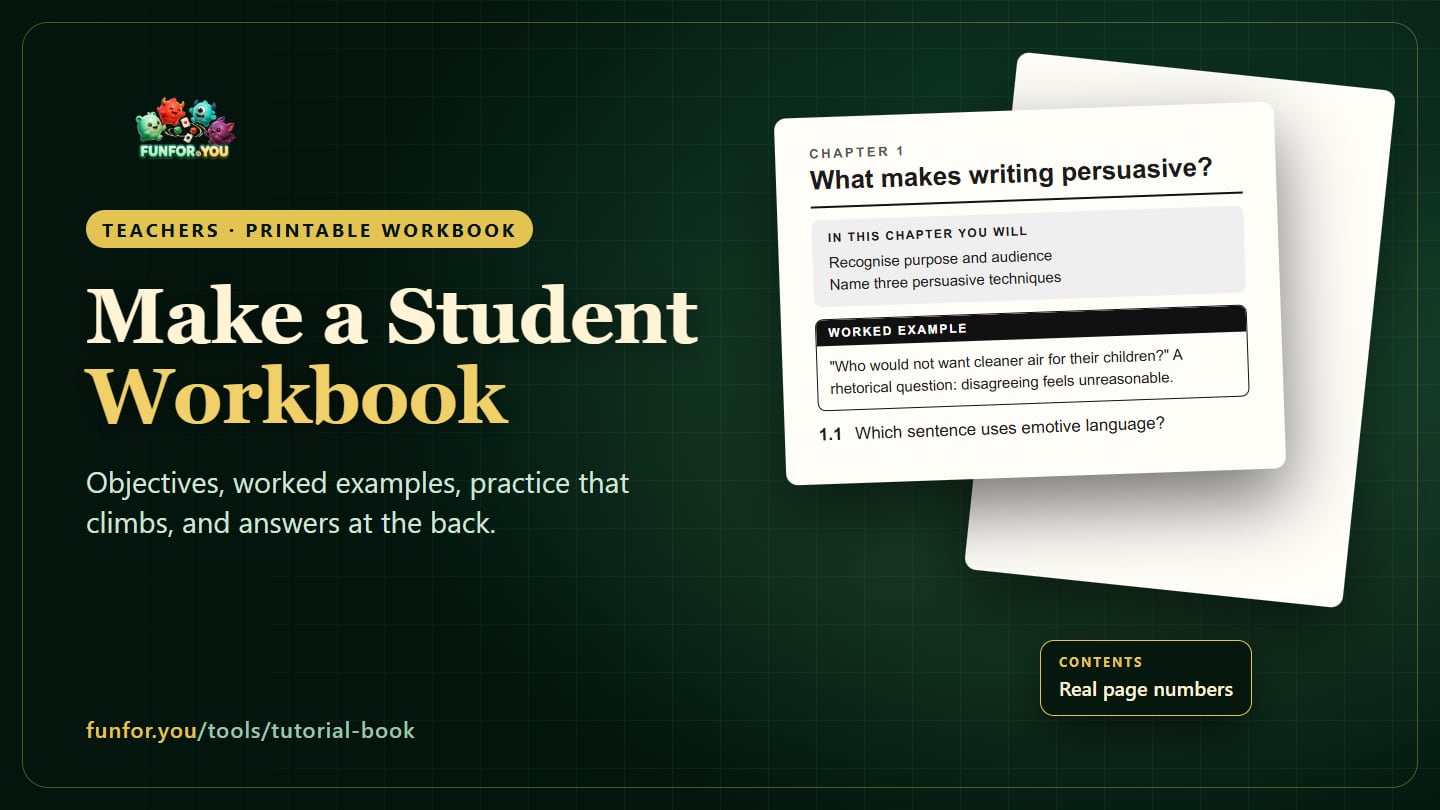
In this chapter you will: recognise the purpose and audience of a persuasive text; name three persuasive techniques; explain how a technique affects a reader.
Objectives like these do two jobs. They tell students what to pay attention to, and at the end of the chapter they become a checklist: can I actually do these three things now?
Inside the chapter, use a rhythm students learn to expect:
- Notes: the idea, briefly. Short paragraphs and bullet points, not a textbook page.
- A worked example: the idea applied, step by step.
- A tip: the common mistake, or a quick way to check your work.
- Practice: questions that start where the example ended.
Teachers sometimes describe this as "I do, we do, you do": the example is you modelling the thinking, the first practice questions are close copies of it, and the later ones ask students to use the idea on their own.
Write worked examples that show the thinking
A worked example is the most valuable part of a workbook page, and the easiest to write badly. An example that only shows the answer teaches students to copy answers. Show the decisions:
"Who would not want cleaner air for their children?" This is a rhetorical question. The writer does not expect an answer: the question makes disagreeing feel unreasonable, so the reader is pushed to agree.
In three sentences, the example names the technique, explains how you can tell, and says what it does to the reader. That is exactly what the practice questions will then ask students to do. For business or maths-style topics, number the steps and write one line of reasoning beside each calculation.
Build practice that climbs
- Start close to the example. The first question should feel achievable to every student who read the page.
- Mix question types. Multiple choice to check recognition, fill in the blank for key vocabulary, short answers for explanations, one longer answer to pull the chapter together.
- Number by chapter. Question 2.3 is the third practice question of chapter 2, and its answer is easy to find at the back.
- Leave writing space for written answers: two or three lines for a short answer, more for a paragraph.
Our guide to writing multiple-choice questions covers how to make the quick-check questions useful rather than guessable.
The back of the book
Key terms should be short and in the students' language: "Emotive language: words chosen to make the reader feel something", not a dictionary definition. Alphabetical order lets students look words up quickly.
Answers are a decision. Answers at the back let students check their own work and move at their own pace, which suits revision workbooks and homework. For work you want to see first, print the book without answers and hand them out, or project them, afterwards. For long written answers, give the key points a good answer would include, or simply "Answers will vary", rather than a model essay students will copy.
Printing it so it lasts
- A4, double-sided. It halves the paper and makes the book feel like a book. Start each chapter on a new page.
- Staple along the side, or fold a booklet if your copier can print one.
- Do not rely on colour. Most school copies are black and white; use boxes, bold labels and shading instead.
- Offer large print for students who need it, from the same content.
- Put the name lines on the cover. Lost workbooks come back when they have a name on them.
Make it in the Tutorial Book Maker
The free Tutorial Book Maker builds exactly this structure and lays it out on printable A4 pages:
- A cover with "this book belongs to" lines, and a contents page whose page numbers match where each chapter really starts.
- Chapters that each open on a new page with an objectives box, and hold notes (lines starting with a dash become bullet points), worked examples, tips, pictures and practice questions.
- Practice in five types: multiple choice, true or false, fill in the blank, and short or long answers, numbered by chapter.
- A key terms page in alphabetical order, and the answers at the back.
- Print the book with answers, without answers, or the answers only, in Arial or Times, at standard or large print.
English and business samples show the whole thing working before you type a word. Save your book to your device and open it again later; nothing is uploaded, and free prints carry a small "Made via FUNFOR.YOU" line in the footer. For a separate end-of-unit test, use the Test Paper Maker, and plan when each chapter will be taught with the Excel term planner.
Frequently asked questions
How long should a student workbook be?
Long enough for one unit and no longer. For most units that is somewhere between eight and twenty-five pages: a chapter per lesson or per week, plus the front and back pages. A workbook for a whole year is usually better split into one book per unit.
Should the answers be in the student copy?
For revision and homework, yes: students learn by checking. For work you want to mark first, print the book without answers and keep an answers-only copy for yourself.
Can I add pictures and diagrams?
Yes. A picture with a short caption works well for diagrams, sources and examples. Keep images clear in black and white, since most copies will not be in colour.
How is a workbook different from a textbook?
A textbook explains; a workbook is written in. Workbooks have less text, more worked examples and space to answer, and they follow the order of your lessons.
Can I reuse the workbook next year?
Yes. Save the book as a file, open it next year, update the chapters that need it and print again.